Thursday, December 29, 2011

The last of the decorations.

These are the last of the decorations for the party. If I made any other decorations, I have already forgotten.

This fireplace was actualy not made by me, but by the lady I made the raw cookies for. It's made out of a tv box and the mantel is actual wood. It even had flickering lights inside the "fire". The bricks are painted on.


Here's another decoration I didn't work on. We were lucky enough to find these Whoville wall sets in the storage shed at the church. There were 5 of them, plus 2 signs. Someone spent a lot of time putting plaster texture on them and painting them. The signs were actually carved.


We had over 50 boxes that had to be wrapped. 25 of them were part of the centerpieces on the tables, the bottom part so they had no bows. One lady wrapped all 25 of the no bow boxes. Adam and I wrapped the rest of them and put bows on all the rest. It was pretty cramped in the house by the time the party came along.


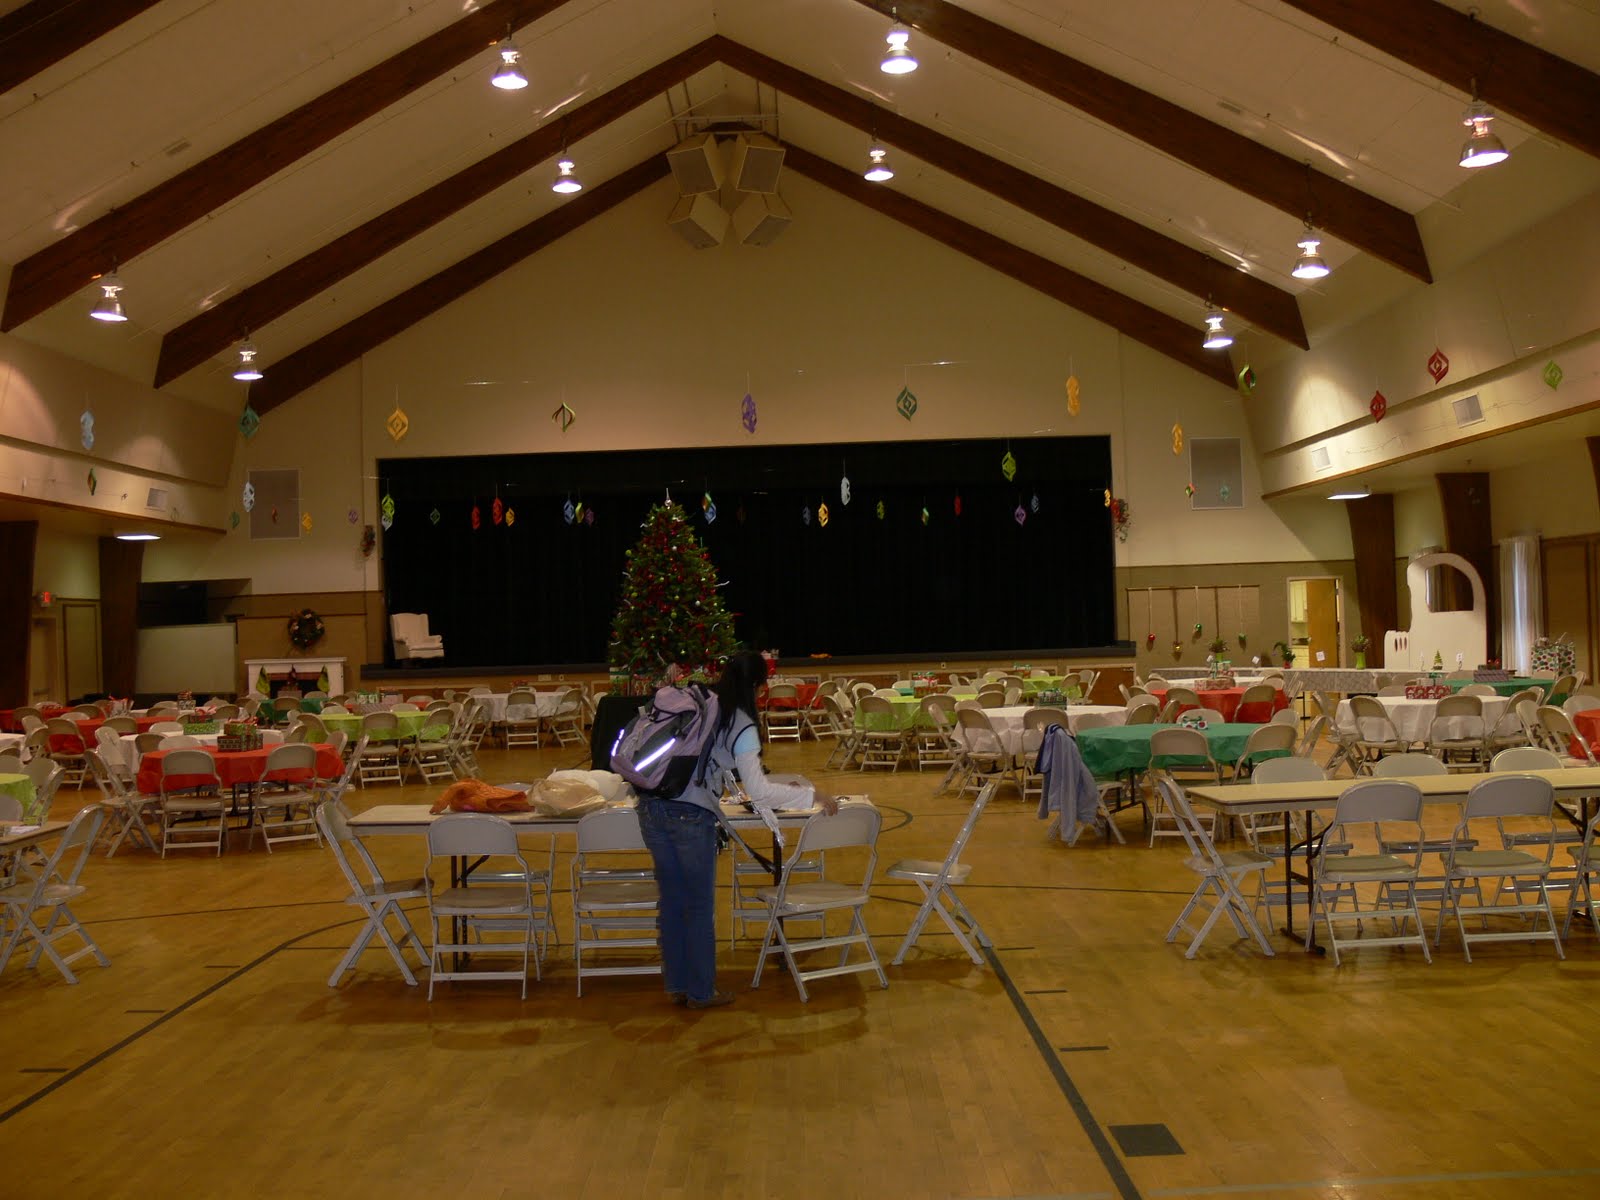
And the last decoration here is one I almost forgot about. I made two of these, one for each side of the stage. I just took pieces of paper and cut out in a sprial. Some spirals were small, while others were big. I stapled them together and added a bow I made. Super simple...porbably the easiest thing I made. I almost forgot to put them up.


So, that's it...I will post some pics from the play though since that was fun also.

Tuesday, December 27, 2011

Christmas baking


Just like every other Christmas, I waited until the last minute to get everything done so it was busy and hectic. Every year I say I have learned my lesson. I hope you were better than me and finished everything early so you could feel the joy of the season. It's always great to have family gathered close...and if I can't have mine close by at least I can have Adam's family.

I am still not eating sugar but I am happy to make sugary goodness for others. I made three different things. Toffee, mint brownies and a cookie bar type thing that I can't remember what it was called but it was the hands down favorite. I couldn't get a good picture of it for the life of me though. Here's the toffee.


I made about 15 plates and was able to deliver about 12 of them. I still have the other 3 in my car. I just ran out of time and now I think they'll be too stale so I guess I will just pitch them. I made the tags.


There is one family at church who eats raw food only and I wanted to do something special for them since the mom made a fireplace for the Christmas play at the party (still have more to post from that party). So I made these raw cookies which are supposed to be like macaroons but really aren't. They weren't sweet at all so I made a sauce from pureed strawberries and strained yogurt. I was able to have some of these since there was no sugar.


Aside from the sweets, I also did some bread baking. Besides the raw dessert I made for that family, I also gave them a portion of my sourdough starter. Since I pulled it out and fed it, I decided to make some of our favorite sourdough bread. I'll have to post the recipe some time. I made four loaves (yesterday morning). One is almost gone and another is at my in-law's. I imagine the other two will disappear before I have to freeze them.


And the other bread I made is my all time favorite. It's a soaked bread. I've posted this recipe before. No matter what, I can't get it to rise nice and big but it is always silky smooth and so yummy! I made some rolls with the same recipe for some bean/grain burgers a friend made for us.

Wednesday, December 21, 2011

Paper ornaments


I made two kinds of paper ornaments and somehow I managed to make 40 of the more complicated ones and only about 15 of the less complicated ones.

For the easy one, all I had to do was take 5 strips of paper, 1 of the center color and two of the other colors. I left the outer 2 strips full length, cut a couple of inches off the next color strips and about 4 inches off the center strip. Then simply stapled the ends together with a string for hanging snugged in there. I made two sizes, long and short. Most of them were short though.


The next kind was the ones I prefered which is probably why I made so many more of them. Adam had the bright idea of making a template and it really did move it along much faster. They look more complicated than they are, really.

These are more Whovillesque, don't you think? I used all the colors from the book in this one.

Here's the template. It's made using a square of cardstock. Mine were 8". Then you cut squares out of the center leaving two sides still attached on a slant...that is the main stem for your ornament. (I am sure these nistructions aren't great, sorry.) You take the first two triangles and wrap them around to meet on one side and tape together. Then the next size up, you fold in the opposite direction and tape together. Then repeat again, alternating sides they get folded to...but the outer two layers I was able to use the stapler on.

Here's a pic of a single one...maybe it will help fill in any gaps my instructions left out.
I stapled a string onto one end for hanging.

Like I said, the gym as big and my decorations just didn't seem like enough. All of these were hung on strings at ceiling level.


Monday, December 19, 2011

pipe cleaner decorations

I really should be in bed so this will be a quick one. Here's a couple more decorations I made. This time they're for the tree.

This was simple. I just curled several packages of pipe cleaner to stick through out the tree.

This one, not as simple but I liked the idea of them better than the curled ones. Unfortunately neither of them had the impact I was hoping for. The sticks are pipe cleaner and the pom poms are ones I made. The pom poms were heavy so the pipe cleaners bent over...the group was fun to hold and watch as they danced around, like wheat blowing in the wind...or probably more like a breeze. But regardless, they were fun to watch. I made the pom poms by wrapping yarn around a broom handle over and over again until there was a significant amount wound up. I tried to contain it to about an inch wide on the handle. Then I slid it off the handle and placing it on the table where an already cut piece of yarn was already laying. I tied up the center of the bunch real tight and tied it around the pipe cleaner as well. Then I cut the loops of yarn all the way around. Then you have to trim the "furs" until you have a fairly even length all the way around. And you have a pom pom. Not complicated but a bit time consuming. I only made 10. I had plans of putting them all at the top of the tree but ended up spreading them throughout the tree and wish I had left them all together. Oh well.

Here's a not good pic of these two elements on the tree.

Sunday, December 18, 2011

painted vases (for the party)

Here's a super easy project I did for the Grinch party. I got these two vases at a thrift store half off so they were less than a dollar for both of them. I bought a small tube of acrylic paint in the color I wanted.


I poured some into the bottom of the vases and swished them around until the insides were completely covered. Then I let them dry for a few days before I put the fillers in it.

Here's what they looked like finished. It has the sheen from the glass but the color I wanted. I liked this one.

I made two and filled them with the same things. They were used on the food tables. Don't you just love this budget friendly dish?! "A crumb too small for even a mouse." Pretty funny. :o) That was someone else' idea. The name card holders were made by the same woman who had that idea and beaded by the girls in the play while they waited for their rehearsal.

And here's another this I put together for the food tables. It's just a small 2 foot tree that I bent over and added a large ornament to. I added a spray that had pom poms in red, white and lime green but that was after this pic was taken.

Tuesday, December 13, 2011

Two types of party garland (for Whoville)

Ok, so the Whoville party is over so I can start showing the decorations I made. This was the largest thing I made but not the most time consuming. This was actually pretty easy. It only took me a couple of movies worth of time to make.

I used lime green, dark green and red streamer which are the main colors I used in all the decorations. This is 200 feet of garland.

I placed the three streamer rolls on the floor and the table stopped them from rolling away so I could just pull on them and not have to deal with the rolls at all, except for what was in my hands. I layered them so each green was peeking out of either side of the red (which I had underneath the greens).

I turned the tension to the highest it would go then sewed. It's as simple as that. But you shouldn't pull it through the back or you will stretch the threads and not get as much gathering. Cool, huh?!

This is what it comes out looking like.

So for the second type of garland, I did something completely different. This was actually the first thing I started working on since I knew it would be VERY time consuming. I wanted to make sure it got done.

I used lime green, dark green and light blue for this one. I cut strips of all the colors into 24 inch strips. Then I cut them all in half, width wise. I tied them onto the string. I tied a bunch of red on, then began filling in the other colors one at a time. It worked well for me that way. When I ran out of empty line, I had to move the line further down the hall and start again.

I made 3 different segments since my house isn't long enough to accommadate 100 feet of it. The dogs were constantly get under foot...trying to get my attention. This one took me almost two weeks and I had to stay up until 1 every night to get it done in that time. It was easy but took so much time. I will never make 100' again. But I can see making it for a party someday in shorter lengths. I really like how it looked.

Here is a glimpse of what they look like hung together. I'll show pics of the whole gym later after I show more individual projects I worked on for this party.


Thursday, December 8, 2011

cake guts & bracelets

Here's the guts from the rainbow cake. It turned out pretty neat. The kids were excited by the rainbow.


Here's the bracelets I made for the girls. They are super simple. Thank you to Debbie for teaching me about crimp beads and how to use them when I was visiting. They are really useful.

And while I had stuff out, I threw these two together as well, for myself. The others are too small for me...but my Faith in God leader wanted one and they fit her so she got one.

Most of these ideas, I got from Pinterest...the cake and two of the bracelets. I am no good at coming up with original ideas but I can copy pretty well! ;o)

Tuesday, December 6, 2011

"Peppermint" rainbow cake

I am home with Adam while he's on bed rest. I had plenty of other things I could be doing, like all the housework I had neglected during the last month while working on the Grinch party we just had. I did work some on that but I took most of today for fun stuff...crafting and baking.

The largest and most time consuming project I did was making a rainbow cake I had seen online a little while back. I kept it in the back of y mind as something I wanted to make someday when I had a reason to. My chance to try it out came this week. We are having our Faith in God activity tomorrow (Wed.) and I was asked to bring dessert. Since I had extra time on my hand I don't normally have, I figured I might as well. I also made little bracelets for the girls.

For the rainbow cake, I made up the batter from a box mix. I divided it into 6 bowls and used regular food coloring to make an assortment of colors.

All you have to do is plop the first color directly into the center of the pan, take the next color and plop it directly in the middle of the first color and so on until you finish all the colors. Each color you put in simply spreads the proceeding colors out. They don't mix. It comes out looking like rings of colors.

It might be a mess, but I liked the looks of this mess.

Baked:

I thought long and hard about how to decorate the cake. I was at Kroger when it came to me. Since it was for a Christmas activity, I would make it look like a peppermint.

I cut out a circle to use as a guide. I stuck toothpicks in the cake to suspend the paper. When I was done with the paper, I removed the toothpicks and smoothed out the frosting in that area. I used a knife to "scoop up some sugar I had dyed red and placed it on the cake where I wanted.

I finished the stripes on top and moved to the more difficult side stripes. Even with the cake stand tilted all the way down, it just wasn't at a good angle to throw sugar at but I eventually got it.

I didn't want to level the cake before I flipped it onto the board so I had a gap all the way around the bottom. That means I needed a border at the bottom.

I went through two other tips before I decided on this one.

So here it is. It was fun but not something I can do very often.


Wednesday, November 23, 2011

Photo editing

I love pictures. I loveto take them but I also love to browse pictures...mine and others'. One thing I have been having fun with lately is editing photos to see what I can come up with. My camera skills aren't the greatest so editing makes me happier with my pictures. I don't do it very often but when I do, I really enjoy myself. Recently, someone showed me an editing program and I am in love. It's simple and can really make a difference in the end product. It's pixlr.com/o-matic/ It's free!


Here's a pic I took back in 2001-2002 with a simple point and shoot camera that my parents gave me for Christmas one year. It was color but back when I had photshop, I changed it to sepia. I was really happy with that simple change, and still like it better than the original.


But then, I put it through some proccessing in my fancy new editing program and made just two changes. It came out looking like this. I am super happy with this image. I am trying to figure out where I can hang this in the house now.


I like how it looks kind of like a watercolor and a picture at the same time. It has a modern art touch to it but not blaringly so. I love the colors. Editing is amazing and a lot of fun.

Sunday, November 13, 2011

Counters

I have had trouble updating my blog lately...partly because of how busy I've been but also because it seems to me that the things I do really have no meaning. I mean, the things I do need to be done but really are the kinds of things that know no difference in the scheme of things.

Anyway, while I was in Utah, Adam was hard at work with the counter tops. He didn't get as much as he was hoping finished but It is nice to have a stationary counter top...and all the counter top in the kitchen. The living room side is still undone. But the part he got done is so nice!

He matched the front boards very well with the cabinets.


He filled in the nail holes with stainable filler after I got home and sanded it down which took more of the stain than he thought. He re-stained on the boards (in the pic above). It stained unevenly so we're going to have to sand the boards down and restain in one coat. Too bad but you learn as you go sometimes.

Isn't it pretty?

Related Posts with Thumbnails