Showing posts with label homemade. Show all posts

Thursday, June 6, 2013

seeing red

I have never been one to like bright colors in my clothes. A little is ok...but a bright red dress...a whole dress, that is way overboard.  But as I've worked on it, it's grown on me and I am confident I won't feel too out of place in it.  


Anyway, so far as the sewing goes, work had slowed a bit because all of the work left for the last few days has been handsewing.  Yep, no more machine work.  The shirt gets attached by hand and all the hemming and the hooks and eye...that's all that's left!  It's hard for me to believe that I am actually pulling this off.  

Each little pleat gets its own stitch to the bodice...well, two stitches, one on top, one at the piping.  I have the top row done and maybe 1/5 of the bottom row.  

Back detail

Front detail

I used to absolutely hate clothes!  When I got married, I really hated trying wedding dresses on.  All I knew was that clothes didn't fit right and I had no idea what I liked, what would flatter my body type or anything like that...so I just hated all clothes.  But now that I know what I like, I can see the appeal of buying such a special dress.  Though this dress looks nothing like a wedding dress, it reminds me of one.  Probably because it's so thick and doesn't fall flat.  

It will still take a lot of work, but I will have it done by the time trek rolls around.  I can't believe it!

Tuesday, June 4, 2013

Getting so close!

The bodice is done enough to look done.  Still needs hooks and eyes in the back, the sleeves need hemming and a little touch up hand sewing.  


+
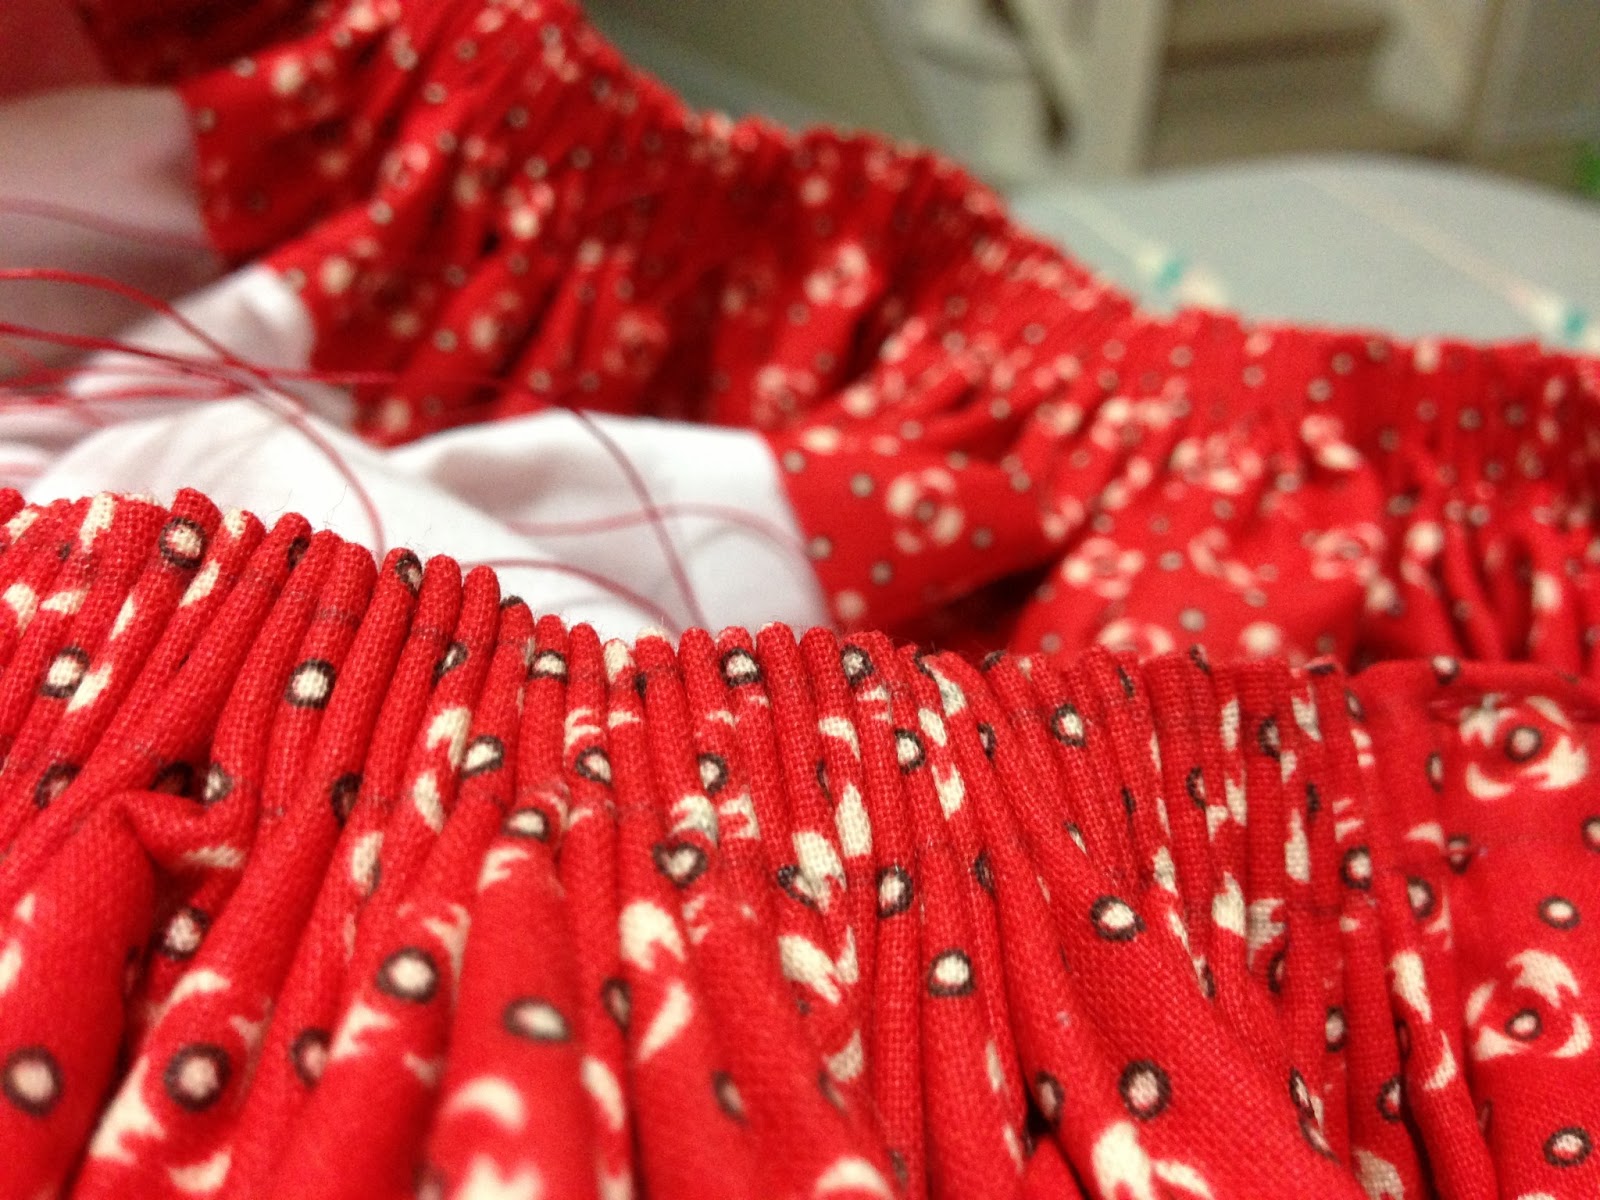
The skirt in front is one that fits me...the skirt in back is 144" around and needs to be brought in to the skirt size.  The pattern taught me how to cartridge pleat to accomplish that goal.  It told me to measure and mark  1/4" all the way around and to draw a line 1/5" down and again 1/2" down from that.  Then on the top line, to hand sew in one hole, out the next, in one, out one and so on until I went all the way around...and then do it again on the lower line.  Then you just pull and it folds like an accordian.  


Pleated with 576 tiny pleats.  Amazing!


Only about 4 steps left!But they make take a while.

Thursday, May 30, 2013

Handcarts (and a sleeve)

My husband is also involved in the trek I'm going on and making the dress for.  When I got home from work last night, there were some handcarts in my driveway.  I was so excited that I flew down there to try one out.  My husband caught me playing. You can actually see my smile in this one.  I'm such a geek. lol

The other three that were in the driveway were just wheels on bare metal frames.  Adam and the person in charge of Trek were going to build the boxes for those.  They worked all evening on it.


They finished all three boxes but none are attached yet as they didn't have the right kind of metal tapping screw.

They actually bought the wheels from a company who makes them for covered wagons and are very good quality.

And while they worked on those, I worked on my dress.  The three sleeve pieces are finally finished (except the hemming of the sleeve edge...I'm waiting until it's attached to the dress so I get it right).

Tuesday, May 28, 2013

I tried it on!

I hope you had a great Memorial Day.  We had a very busy, tiring but good day.  We woke up early and with the help of 8 or 9 church friends, we were able to saw down our neighbor's tree.  A giant chunk of it had fallen in a very bad storm we had last week.  She's a single mother of 5 and couldn't afford to do anything about it.  We mulched what we could and cut the branches into firewood.  The trunk is still in her yard (we can't do anything about that but at least she and we don't have to worry about the damage the rest of the tree falling would have.  Took 5 hours.  Well, actually, it's not done as there is a large pile of branches sitting in our yard but people were too exhausted to continue.  We finished at 12:45.  We had a gang of people coming over at 1 for a bbq lunch.  We were planning on eating outside under that giant tree and its shade...but there was no shade anymore.  So we just ate inside.  

My mother-in-law, brother-in-law and his family, neighbors who are like grandparents to my husband and his siblings and a family of family friends came.  Their 16 year old daughter was in a serious car accident 3 months ago.  The doctors didn't think she'd make it.  She had a broken eye socket, brain injury, broken ankle, broken back and lost several feet of her intestines.  She was in a coma for 5 days.  But she is recovering quite nicely. She's fairly traumatized from her experience and is finding it difficult to cope with her new reality but was in good spirits during the visit at least.  They are a neat family.  

After the visit I managed to get my house back in order, go weed in the garden a little and then work on the sleeves of my dress a bit.  

The bodice is not finished yet.  It still needs piping around the waist and the arm holes, the back needs to be hemmed and have the hooks and eyes added, the side/front panel seams need to be handstitched in the ditch to the lining, and the neckline will need hemming.  It is done enough that I was able to finally try it on though and to my relief, it does fit!

The unfinished back

I love these lines!

Finally, it's on!  (It was midninght and I was falling asleep but had to finish it enough to get it tried on.)

So now I am moving on to the sleeves even though I'm not quite finished with the bodice.  The sleeves, while they don't have lining, will be thick since there are three sleeves stacked on top of each other in varying lengths.  

This is the macheron (the cap sleeve).  It gets three deep tucks and each tuck will have piping on the bottom of each tuck. So I'm doing basting stitches to make the folding easier.

Since the pattern has dropped sleeves and I had no idea how low the drop was, I couldn't tell if I would need to add length to the sleeve or not.  So now that I was able to try on the bodice, we pinned the sleeve to it to check.  I added 4 inches which will give me the length I need plus hemming room.  The black piping is where it ended before my addition.  The piping will make it appear intentional, I hope. ;o)  And the oversleeve is in place.  Just need a mancheron.  

Thursday, May 23, 2013

more of the bodice

So work continues on the dress.  I recently had to unpick a lot of work because I did it wrong.  So I am finally back to where I feel like I'm making a bit of progress.  


Here are all the gathers at the bottom of the front.  I hand stitched the gathers even though it wasn't in the instructions because if one of them broke, it would ruin the whole look.  It went pretty quickly. I did it through the backside so you can't see it on the front side.

The shoulders called for gathers but I toyed with pleats and eventually went back to the gathers because they're easier.  As of right now, this piece is waiting to be sewn to the lining.

The back pieces have gathers at top and bottom as well.  They got resewn to the lining last night.  This dress has the closures in the back so I will definitely need help getting dressed.  

Finally touched the sleeves last night.  There are 6 seperate sleeve pieces (3 for each side).  A sleeve (full length), an oversleeve (like a 3/4 sleeve) and a mancheron (a cap sleeve of sorts).  Each starts at the shoulder seam so that's gonna be a heavy sleeve! lol  Guess what...there are more gathers in the sleeves!  They sure liked their gathers!  I got the gather stitches in both sleeves and over sleeves last night but haven't gathered them as of yet.  The mancheron is kind of fancy...no gathers, just a few tucks and lace.  I sewed one of the sleeves up to try it on last night.  I have big hands so I wanted to make sure my hand could fit through the opening.  It did.  I need to lengthen the sleeves as my arms are also longer than the average women's apparently.   The other area of concern for me is the area in front of my armpit.  I feel like the incredible hulk in a lot of women's shirts because it's so tight at the armpit that I can't move very well.  It felt like it would be ok...but once it's attached to the bodice (which I haven't been able to try on yet) will be the true test.  

Thursday, May 9, 2013

Pioneer dress - working on the bodice front

I sure picked a complicated dress after having not sewn a piece of clothing in coming up on 20 years now. My MIL is helping me translate the instructions which the company who made the pattern stated up front that they would be confusing for anyone not familiar with historic clothing construction...yeah, that'd be me!  I will be making the corset too but I don't have enough time before this dress is needed next month.  The dress I am making is the top one on the right.  The bodice is just amazing to me!  


You can see the bodice much better in the illustration below. Lots and lots of gathering in this one.

Here's the front bodice lining.  I've never done darts before and I was so proud of these.  They have channels sewn into them for the boning that wasn't added yet when I took this picture but has since been added.

The actually bodice is four pieces not counting the lining.  This is two pieces sewn together and there are two small side pieces not sewn in yet in this picture.  If you look closely, you can see my silhouette.  This thing is huge...but it won't be for long.  This is going to be getting the gathers. (It was midnight and I was exhausted, excuse the blank stare.)

They have you sew in the gather stitches but before you gather, they have you sew on the side panels.  That was a little frustrating because I managed to catch the gathering threads in the stitches.  But after taping the threads to the fabric, all went well.  7 gather stitches across the bottom.  

So with that sewed, I had to pin the bodice to the lining.  As you can see, it's a poor fit. This is where I stopped tonight.  Now the fun begins...gathering everything until the bodice is the same size as the lining.  The shoulders have gathers across the top as well.

My MIL leaves me with homework to do before she comes over next.  My homework this time is to do all the gathering, unpin the bodice and lining, pin them back together with wrong sides together and sew everything together except for at the bottom.

I'm thinking 4 weeks will be pushing it!  My MIL says we can do it...I have to have faith in her experience since mine is lacking.  But once this dress is done, I really need to come up with a costume for Adam.  He's not at all interested in historical correctness though so I am not either, for his costume.  We're doing trek next month, in case I didn't mention it.

It's been a little frustrating, a lot confusing but overall, a great experience.  I am learning a lot and I am so excite for this dress!  It's going to put my other pioneer costumes to shame.  I will be the most accurately dressed on trek, I am sure of that.


Monday, March 4, 2013

making jewelry

I spent a week being sick and the last two weeks getting over it.  This past weekend I slept 30 hours!!  I was not able to function.  I woke up on Sunday t go to church but moved so slow I only made it to the last hour, came home and changed back into my pajamas and slept some more.  I am feeling a bit better after that sleep fest but still need more, especially with the way they're working me at work.  They have me working in the warehouse and my boss basically told me today that my job is shifting to be a warehouse worker.  I am not cut out for that anymore.  I've got carpal tunnel from all the pulling I'm doing.  

Anyway, that week/end I was sick, I didn't hardly sleep.  That weekend was the worst of it and I decided to make jewelry to keep my mind off my troubled body.  I ended up making 14 pairs of earrings and 7 necklaces.  That Sunday was our anniversary so to show him I love him, I took a shower and got dressed in something other than pajamas...clothes I would be willing to be seen in outside the home...we didn't go anywhere...but I was dressed, clean and my hair was combed.  That took a lot of effort.  

Here's the original 5 necklaces I made.

Then a shot with all 7 (though you can barely see the white one on the outer edge.

And most of the earrings.

They were fun to make and helped to keep my mind off my sickness.  I was surprised by how much I got done with my brain being turned off.  I already had all the beads and findings so I didn't have to leave the house to make anything...bonus!

Friday, February 1, 2013

Christmas drawing

There was no money for Christmas this year so I wanted to draw a portrait.  I scoured my files and found this one.  But it's from when he was still wearing glasses so I decided to leave them off in the drawing.  I printed it off in black and white to make it easier to see the shadows and highlights.   


It was the quickest portrait I've ever done.  I worked on it on three separate days, that's it!  I finished roughing in both faces and the hands before calling it a night.

 The next day, I had jury duty so I took it with me and worked on smoothing out the shading and started filling in the black of the shirts.
I finished it the day before Christmas Eve which was the last chance I would have had to work on it.  Whew!  I bought the frame at Goodwill some months back.  I wasn't sure what I was going to do with it, but I loved it and it went to good use.  

I messed up on Adam's right eye.  I tried to fix it several times but it just wasn't having any of it.  Seems I always mess up an eye on these portraits.  He said he couldn't see it, even after I pointed it out.  But the rest of the face, I like.

And for me, I think it turned out well too.  But for some reason, I put this dark shadow under my hin, on my neck.  I have no idea why I put it there. :o\

 I am pretty proud of the hands.  I find hands even harder than faces.  I still need work on eyes and hair to make it look more professional.. Perhaps that will come with time.    Anyway, for now, I am happy with this one. :o)

Tuesday, January 15, 2013

Winter warmth

Some years ago, I tried making a coat for Jack but it fit so horribly, even though I used a pattern, that I gave up.  I used the same pattern and made one for the dogs.  It fit just as horribly.  So I drafted my own pattern, slowly, as I went along.  They are identical except that Gretel's covers her chest and stomach but Hansel's only covers his chest.  Can't cover a male dogs stomach and keep a clean coat.  I had to patch Hansel's right away after he gnawed on it.  Then the next day, he destroyed his.  *SIGH*  A waste of a weekend day!  Gretel still has hers but he takes it off of her.  Grrr!  He is such a menace.  But I still think they are really cute coats.  


Tuesday, February 14, 2012

A little valentine's day exchange

We're not big on Valentines day here since our anniversary is right on it's heels but we usually do something small for each other. This year, I made Adam a candy bar bouquet. I almost forgot to make it. I only remembered as I was going to bed. So I had to stay up to make it. The cute little bear is destined to be a dog toy once we're done with it.


On Monday, I started a gluten free month to see how my body reacts, if it reacts at all. Adam bought me a few gluten free food items. There are a couple cookie things. He thought I was going to be back on sugar now that I am trying gluten and dairy free months. He was a little upset when he learned I still wasn't eating sugar. I will probably have one of each just to make him feel better. He also got me some rice pasta, gluten free pasta sauce, waffles (those are actually sugar free) and Udi's bread. I have heard that Udi's bread is so good...the best gluten free bread out there. Um...it may be better than other options out there but it tastes kind of like the plastic bag it is packaged in. Wow, life is sad in gluten free bread world. But I am sure I will be grateful for it as the month wears on. He reused my bear. :o) He is so sweet. He really had to think to figure out a snack I would eat this year.

So, the only time we saw each other all day was when Adam woke up for work...he didn't have enough time to sit and eat dinner but he did anyway.

I made buttermilk roasted chicken, roasted potatoes (white for him, sweet for me), and steamed carrots and asparagus. The buttermilk chicken was SOOO moist! I will definitely be making that again. You just fill a bag with chicken (will do breasts next time as they're our favorite part), I did 6 chicken legs. You make a sauce with 2 cups buttermilk, 5-6 cloves of garlic peeled and smashed, a 1 Tbsp salt, 1 1/2 tsp paprika. Stir it up then pour it over the chicken in the bag and make sure everything is coated. Let it sit in the fridge for 24-48 hours. Then you roast at 425 for 30 minutes (about 35-40 for breasts). I turned the broiler on for the last few minutes to darken it up a little. Like I said, it was very moist. It was also very simple. I will definitely be making this again!

So, that was our day. I hope yours was good.

Thursday, December 29, 2011

The last of the decorations.

These are the last of the decorations for the party. If I made any other decorations, I have already forgotten.

This fireplace was actualy not made by me, but by the lady I made the raw cookies for. It's made out of a tv box and the mantel is actual wood. It even had flickering lights inside the "fire". The bricks are painted on.


Here's another decoration I didn't work on. We were lucky enough to find these Whoville wall sets in the storage shed at the church. There were 5 of them, plus 2 signs. Someone spent a lot of time putting plaster texture on them and painting them. The signs were actually carved.


We had over 50 boxes that had to be wrapped. 25 of them were part of the centerpieces on the tables, the bottom part so they had no bows. One lady wrapped all 25 of the no bow boxes. Adam and I wrapped the rest of them and put bows on all the rest. It was pretty cramped in the house by the time the party came along.


And the last decoration here is one I almost forgot about. I made two of these, one for each side of the stage. I just took pieces of paper and cut out in a sprial. Some spirals were small, while others were big. I stapled them together and added a bow I made. Super simple...porbably the easiest thing I made. I almost forgot to put them up.


So, that's it...I will post some pics from the play though since that was fun also.

Wednesday, December 21, 2011

Paper ornaments


I made two kinds of paper ornaments and somehow I managed to make 40 of the more complicated ones and only about 15 of the less complicated ones.

For the easy one, all I had to do was take 5 strips of paper, 1 of the center color and two of the other colors. I left the outer 2 strips full length, cut a couple of inches off the next color strips and about 4 inches off the center strip. Then simply stapled the ends together with a string for hanging snugged in there. I made two sizes, long and short. Most of them were short though.


The next kind was the ones I prefered which is probably why I made so many more of them. Adam had the bright idea of making a template and it really did move it along much faster. They look more complicated than they are, really.

These are more Whovillesque, don't you think? I used all the colors from the book in this one.

Here's the template. It's made using a square of cardstock. Mine were 8". Then you cut squares out of the center leaving two sides still attached on a slant...that is the main stem for your ornament. (I am sure these nistructions aren't great, sorry.) You take the first two triangles and wrap them around to meet on one side and tape together. Then the next size up, you fold in the opposite direction and tape together. Then repeat again, alternating sides they get folded to...but the outer two layers I was able to use the stapler on.

Here's a pic of a single one...maybe it will help fill in any gaps my instructions left out.
I stapled a string onto one end for hanging.

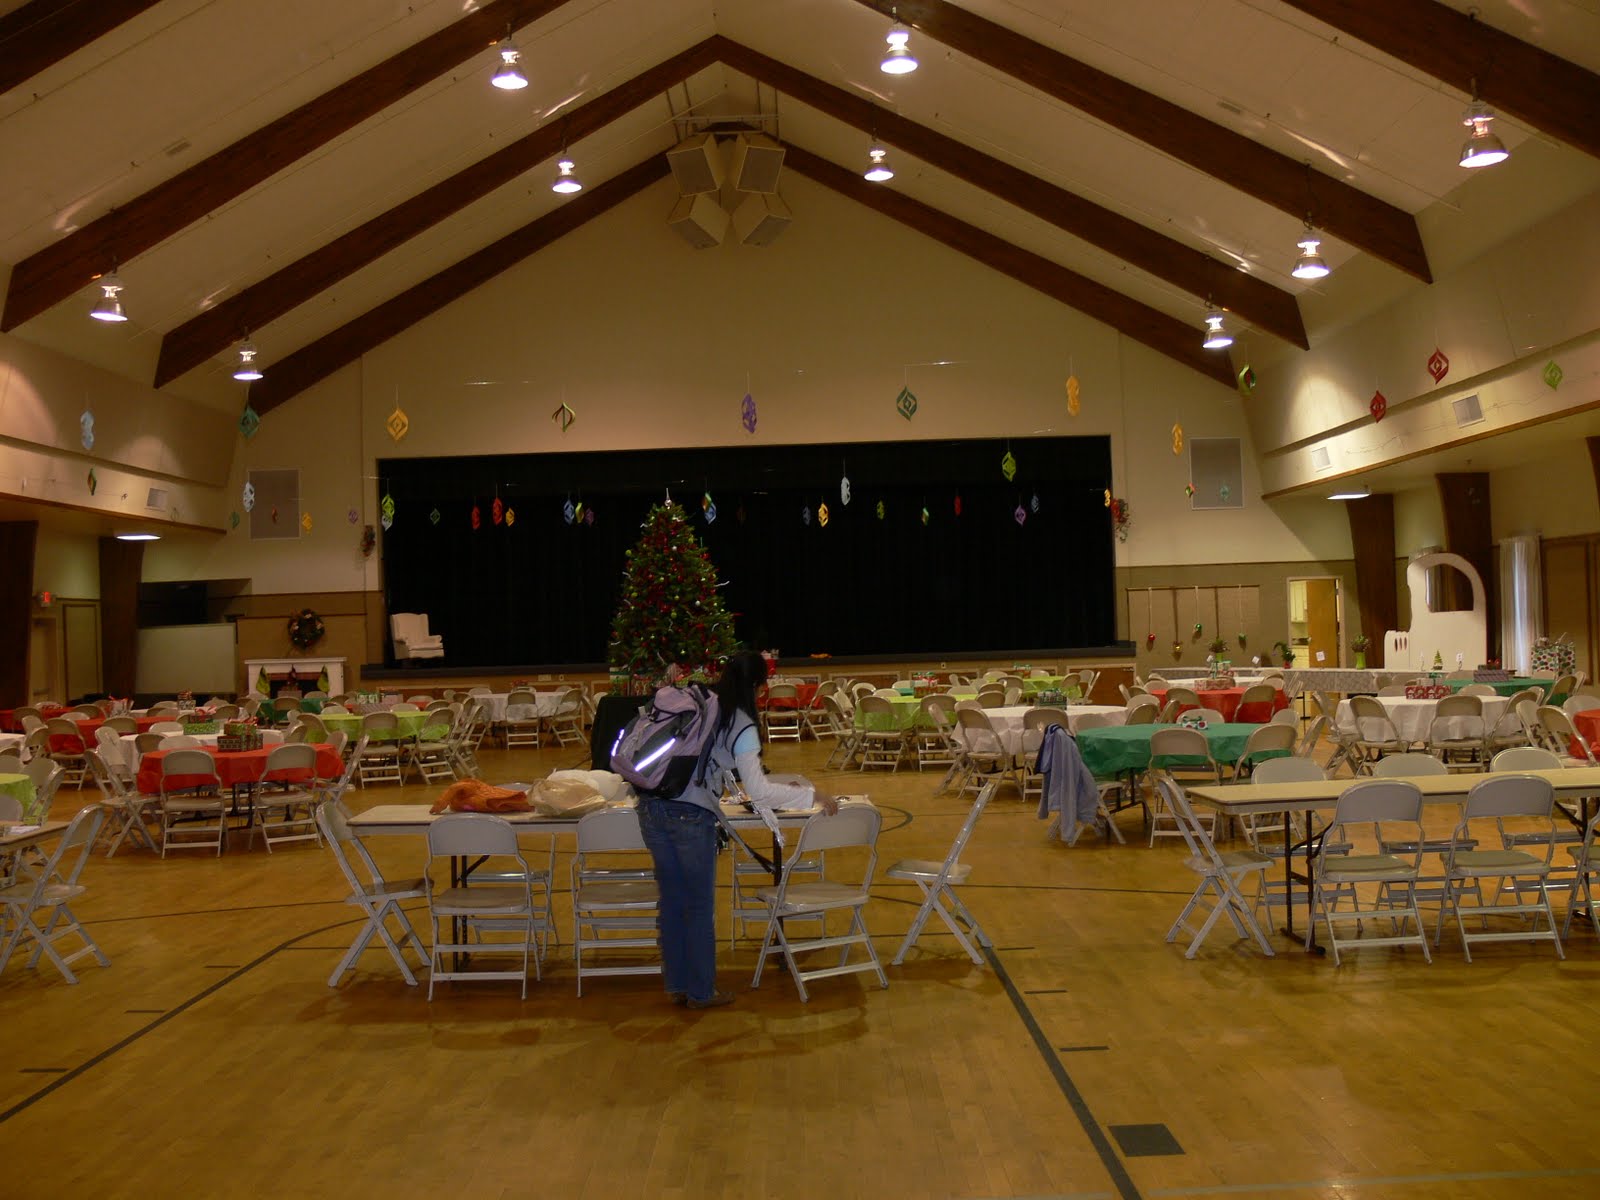
Like I said, the gym as big and my decorations just didn't seem like enough. All of these were hung on strings at ceiling level.


Related Posts with Thumbnails