Showing posts with label craft. Show all posts

Wednesday, March 7, 2012

fun with crayons

I got this idea from Pinterest. I love that place! So many ideas!! This was supposed to be my youngest nephew's Christmas present. Well, he's not my youngest nephew now, but at the time he was at Christmas time. Anyway, I didn't have enoug time to get everything done before Christmas and still spend time with visiting family so I let this one fall to the wayside since he's only a few months old and wouldn't know he wasn't getting his present anyway.

Originally, his mom wanted me to make a very colorful quilt, so colorful that there was nothing it wouldn't match. I decided that I didn't want to make a quilt to hang on a wall for a couple of years then be put in a box, forgotten forever. It's too much work for that. So, this was my next idea...it's colorful, much more colorful than I probably could have made a quilt.

I had to organize the crayons by color. That part probably took about 20-30 minutes. Then I hot glued them into place on a canvas. That part took the longest. At this point, I quit working on it for about a week or two.


But I finally decided to tackle it and get it out of my house and off my to-do list. I thought this part was going to take the longest but it went pretty quickly. I was warned about flying wax so I put up a painter's cloth and got to work. I didn't grab my camera at first. I thought it would take a while to heat up the crayons enough to start dripping but it started within a couple minutes so I had to jump up and grab my camera.


It was actually fun watching it drip and spill.

This is my favorite section. Some wax flew...but that was about the extent of it.


Merry Christmas, Samerus!

Monday, June 27, 2011

unfinished business

I work hard and I enjoy all the things I do but I do miss the feeling of a job well done at the end of a project. I was feeling pretty down on myself about never finishing anything since my projects tend to take months to years to complete, or other things, like dishes and laundry will never be done.

I was at work one day and this idea hit me. It wouldn't leave me alone. So I had this idea that this project I had in mind could be something I could finish in one weekend...and that was something I was sorely needing right then. A few days later, I bought the foam board. I didn't know exactly how I was going to execute it but I just knew it was doable. I was wrong, however.

I wasn't going to blog about this until I was finished but Sheri suggested that I do so here is what I have so far. It measures approximately 39" x 23".

I had this picture open on my computer screen and was working on the dining table directly in front of the computer. This is one of my favorite pics. :o)

I drew the dogs freehand onto the foam board. I finished Bear, Jack and Tucker before I realized I didn't have enough room for Jack. I had to erase them and start all over again.

Once all the drawing was done, I started cutting with an xacto knife. I'm very good with an exacto knife on card stock but I've never cut foam board before...I'm not as good. Oh well...I say it gives it character.

Now, it' all cut out. I bent Tucker's leg (on the board) in the proccess. Oh well...more character?

I was actually feeling pretty good about my progress and I had to clean up to go to a bbq Adam was at. I was going to stop by Home Depot to get some wood trim and Hobby Lobby to get some burlap...both are for this project.

I bought the burlap but I didn't know the dimensions of the frame I needed to build yet so I didn't get the trim. So, another project not finished. It took me a few days to get over this failure. I will still finish it when I have the money to buy the trim. There are a few more steps I can work on before I need the trim anyway but haven't had the opportunity to work on that in the last 3 weeks.

So, after I go over not finishing it and was able to take pride in the bit that I did finish, I wanted to get some pictures with it. Tucker, my ever present buddy, wanted to be with me. As soon as I held the picture up, he distracted me by looking cute and offering his paw to shake. It wasn't the picture I was after but I like it better than whatever I would have gotten. :o)

When it's finished, it will go above the bay window. It has always bugged me a bit to have such a large space empty...not that the other walls are full of things...that's one of those other projects I'll get to someday, rehanging pictures. I hung the pictures once already in this house so it doesn't excite me to have to do it again.

So, true to the way I work, I distracted myself from my work at hand before I got around to cutting it out. I had this overwhelming urge to decorate my desk. I couldn't stop myself. I must have ADD. I have a growing collection of crocks. Some of them were tucked under my desk and others were hidden in the basement. I played around with arrangements and finally decided on this...

The box is a woodens hipping crate. The table toppers are from thrift stores. The large crock with the wooden lid was given to me by a friend back when I only had the butter churn. The churn and small drink crock on the desk are from thrift stores. The lidless crock was one of three I bought from craigslist.

Besides the small crock, on my desk is also a vase that really reminds me of arts and crafts and an oil lamp. They both came from thrift stores. The stuff in the vase are the seed heads from my fern garden.

Not my dream way to display them but it will do until I figure out something better. Besides, this isn't even all of it. I have another (larger) drink crock, a couple pitchers, a plate, a bowl, a vase and a few small crocks with no lids. I'd really love to be able to display them all together.

Thursday, June 9, 2011

fun with macro

We lent the camera to Aaron last year for a few weeks so he could use it for a class he was taking. He wanted to take some macro pictures so he bought three filters that magnify things. I just screw them onto the end of the lens and it's like magic! When he returned the camera, I tried giving him his filters back but he told me to just leave it with the camera. I didn't use it for months but then I decided to see what it was like. I use it a lot now. Here's some pics I have taken using them.


This beauty is a small portion of a cross stitch piece done by my VERY talented sister, Sheri who has been so kind as to gift me several pieces over the years. Sheri, you can rest assured that they are definitely appreciated over here!


This one you have to view large so you can see ALL its eyes! CREEEEEEEPY!


I may be having a little too much fun with these!

Monday, December 20, 2010

Christmas decorations finally out

I had brought out the Christmas tree into the living room. I even got the boxes of ornaments/decorations out of the attic but the two never met. Finally, while I was home sick for 4 days I decided to tackle it. It's not very festive but I had a "Hoarders" marathon while decorating. I couldn't find any Christmas movies. And since I was watching hoarders I had to weed through my Christmas stuff. Our first Christmas after we were married, I went crazy at the dollar store, the dollar general, family dollar and thrift stores collecting Christmas stuff. I bought a bunch of cheap decorations. I had them set up on the large entertainment center we had at the time as well as filling up the china cabinet which we also no longer have. So most of the stuff never came back out to play. I went through everything before moving out West and got rid of about half of it. This time, I got rid of all but a few things that I had bought that year. They just didn't appeal to me anymore. It doesn't bother me that there's not many decorations like it seemed to that year.

The dining room chandelier. I added the teddy bear after I couldn't find a spot for him that I felt was safe from Tucker's grasp.


I love my nativity set. It looks a lot like the Willow Tree stuff but it's just a set from Walmart. I waited a few years to find the right one. The sign was a gift from Valerie many years ago.


The angel and the Mary, Joseph and Jesus figurines were from the dollar tree from our first year. I was going to get rid of them too since their eyes are a little creepy but decided to go ahead and keep them.


The dining room table. I sure could use a Christmas table cloth...maybe by next year.


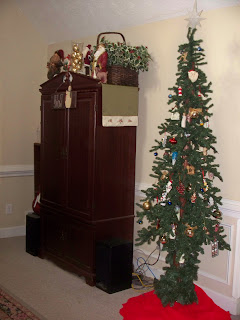
The entertainment center. This is what's lfet of my Santa collection. There used to be a ton. But I decided to just keep my favorites.


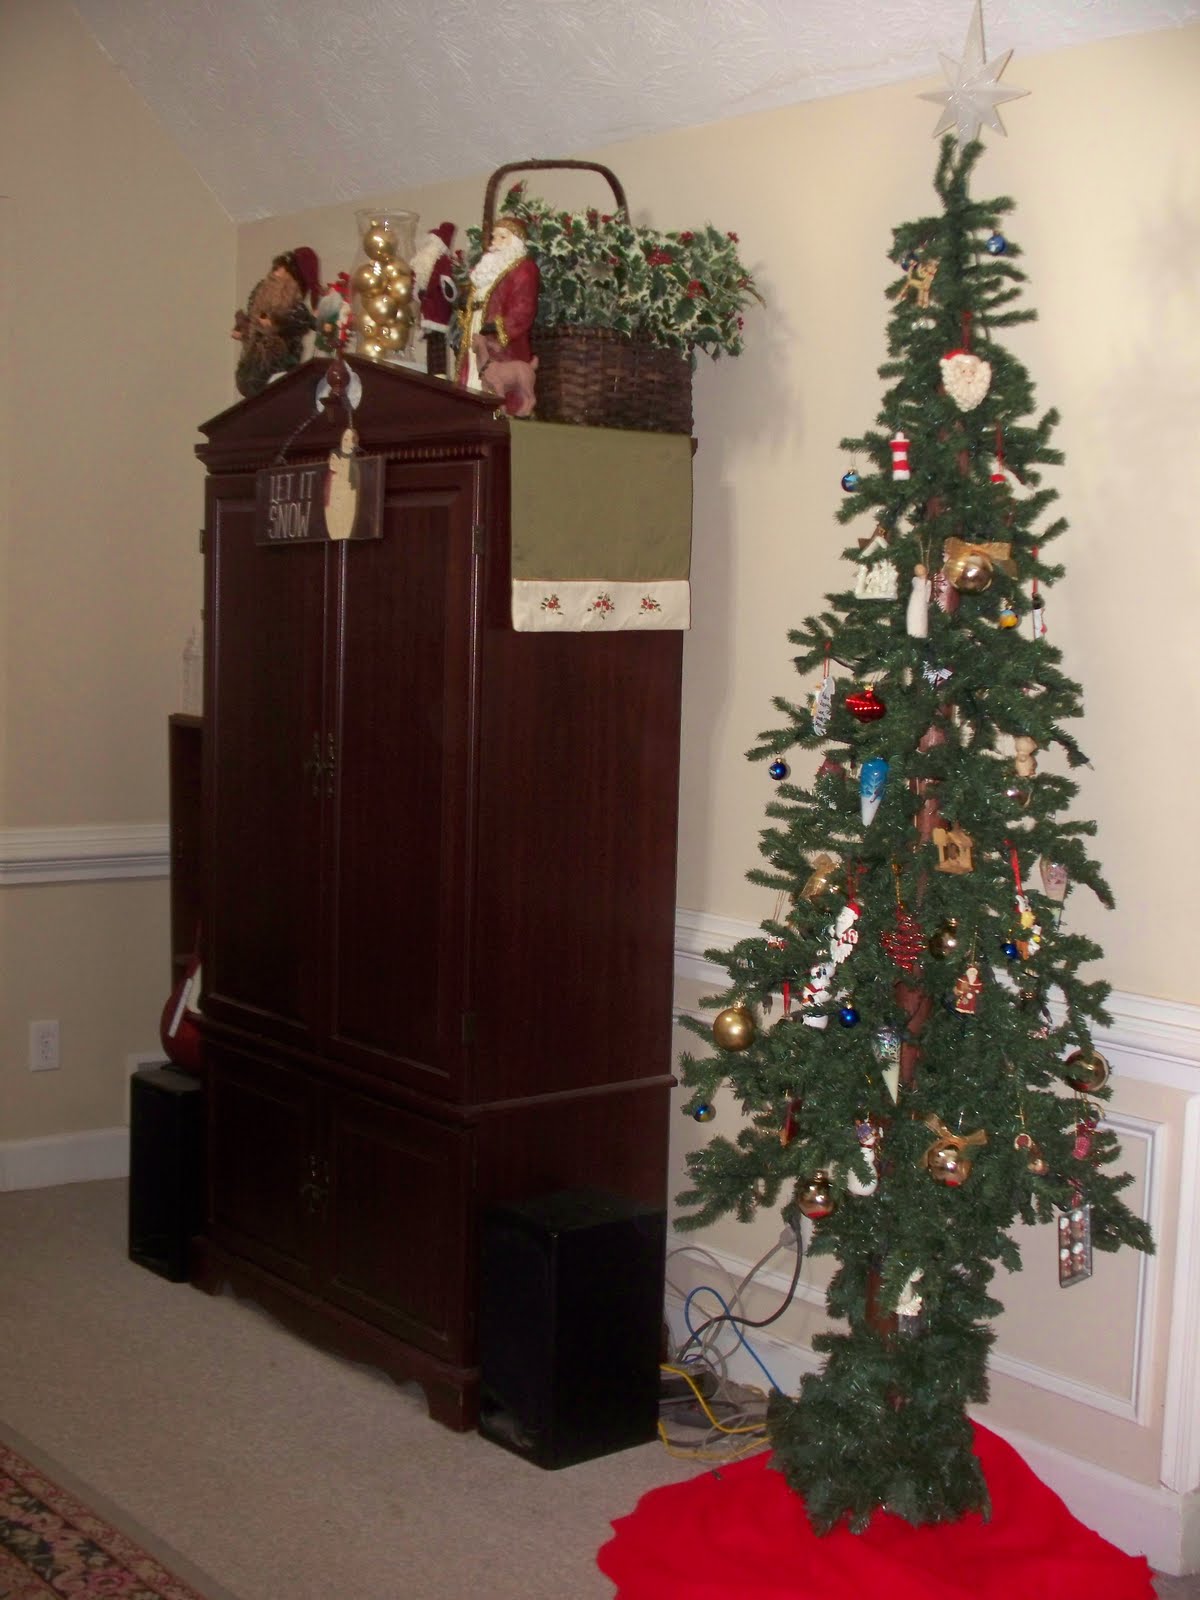
And then of course, there's a tree. I found this tree at a thrift store. It's the kind that has a lodge pole in the center and all the branches are glued in place so there's no assembly. :o) Besides that, I just love it. It's compact, I like that! Adam thinks it's a Charlie Brown type tree. I usually have berry garland on it but I wasn't able to find the box with it in it until after I had already put the ornaments on so I used it elsewhere in the house (in the pine garland around the front door and on the chandilier.

Our first Christmas, I decided to paint some little ornaments with scenes from some of the things we had done together. Some are much better than others but it's fun to see them because it reminds us of that year. I had plans on continuing it every year but it never happened.

Sunset while on a dolphin cruise in Hilton Head, SC.

Well, this one is hard to tell but it's the mountains with fall colors we saw while driving through North Georgia.

This is supposed to be Hickory Nut Falls where Adam asked me to marry him.

This is Chimney Rock in North Carolina.

The Hilton Head lighthouse.

Hilton Head beach.

St. Simmons lighthouse.

This one is my favorite, it's a racoon that followed us around a nature reserve in Southern Georgia. He actually walked with us like a dog. When we got to the car, he jumped onto the car and wouldn't let us in. He wanted to be fed and he hissed at us when we got close to the car. I finally was able to get in while Adam distracted him and I got a bagle and threw it out. When the racoon ran to the bagel, Adam hopped in and we took off real fast before he hopped back on the car.

It still doesn't seem possible that Christmas is this week. It has snuck up on me, no matter how many times I talk about it or think about it, or prepare for it, it just doesn't seem close yet.

Merry Christmas! I hope it's full of family, love, making memories and sharing with others.

Monday, November 22, 2010

Making a photo candle


This is a super simple craft that I learned back when I was really into scrap booking. Last time I used a white candle. This time, I couldn't find the right size candle in white or cream so I bought a red one. Turns out that the color bleeds right through the paper so that was a dud. I tried using a real photograph, thinking it wouldn't bleed through but I ended up melting part of the picture. So moral of the story is, you have to use cream or white. LaWanda found one in her supplies in cream, otherwise I wasn't going to be able to make this for Maria's wedding shower.

To make a photo candle, you need:
a copy of a picture on regular copier paper
4 pins
wax paper
an embossing gun, heat gun or hair dryer
embellishments (optional)

You take your picture and a piece of wax paper about the size of the picture, maybe 1/2 margin on each side. You line up the picture on the candle where you want it, then lay the wax paper on top of that. For a cream candle, you need to trim the picture so no white is showing so there will be little hole marks in your picture but if you use white, you can leave a little extra paper for the pins and you won't be able to tell pins were ever used. Pin the wax paper/picture to the candle.

Take your heat gun and use it to melt the wax on the wax paper and the candle just a little bit as well. Push it down with your hands to make sure it has a good seal.

Let it dry for a couple of minutes then peel off the wax paper.


Your candle is done now but you can add ribbons or other embellishments if you wish. For this one, I used a jute ribbon and a small charm that says "Head over heels". (shown in the first photo)

Super simple gift and fun to make too!
Related Posts with Thumbnails